# Password Protection
As you saw in our previous tutorial, creating a new site is done from the Cloud > Manage Websites menu in Bootstrap Studio, and then pressing the Add Website button.
This opens the Create Website dialog, where you need to choose the Require Passkey option. This will reveal a password field where you can enter the passkey.
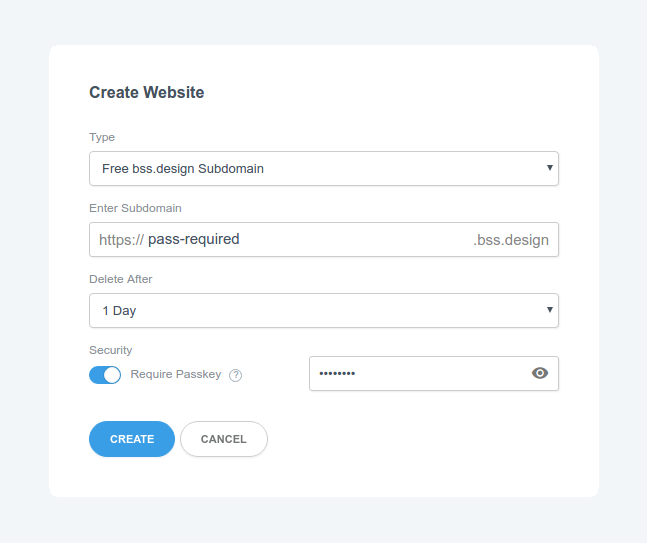
Just click Create and your new password-protected site will be added to your account. You can remove the password protection later by Editing the website (example below).
# Password Protecting an Existing Site
If you already have a website that you wish to add password protection to, you can do it by Editing the website. This is done from the Cloud > Manage Websites menu in the app, and then clicking Edit in the website's menu.
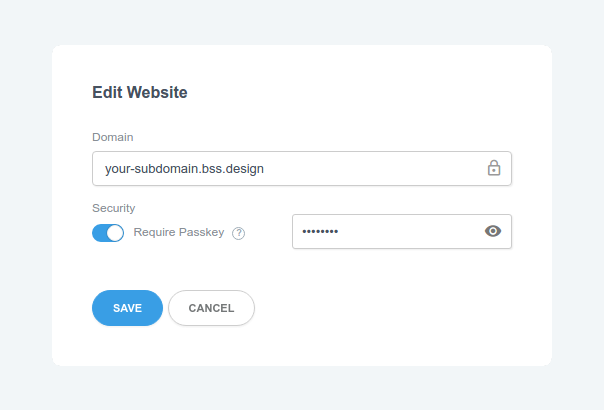
You can change the pass key or enabe/disable it at any time. This makes it very easy to restrict access to a website, so that only the people you share the pass key with can view it.